Edit a button
To edit a button in a project, follow these steps:
-
Log in to Custom Dashboard and click the
 button on the appropriate project.
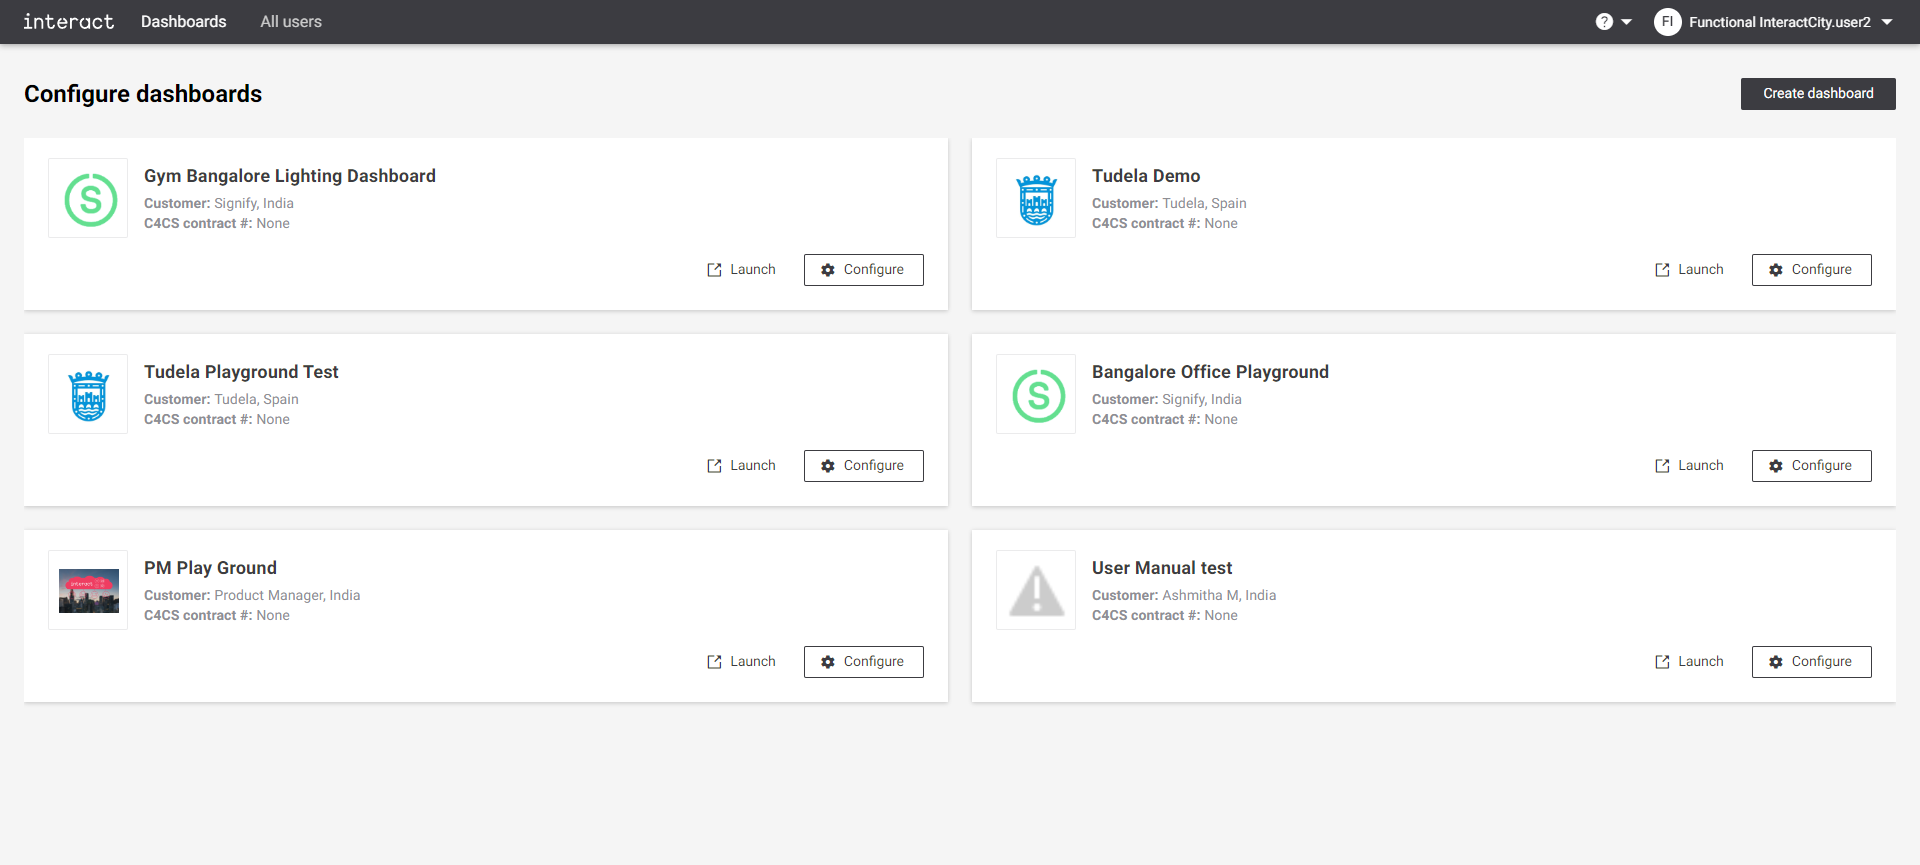 Configure dashboards
 -
Click the Light Control tab. It shows an overview of configured buttons and rules for the dashboard.
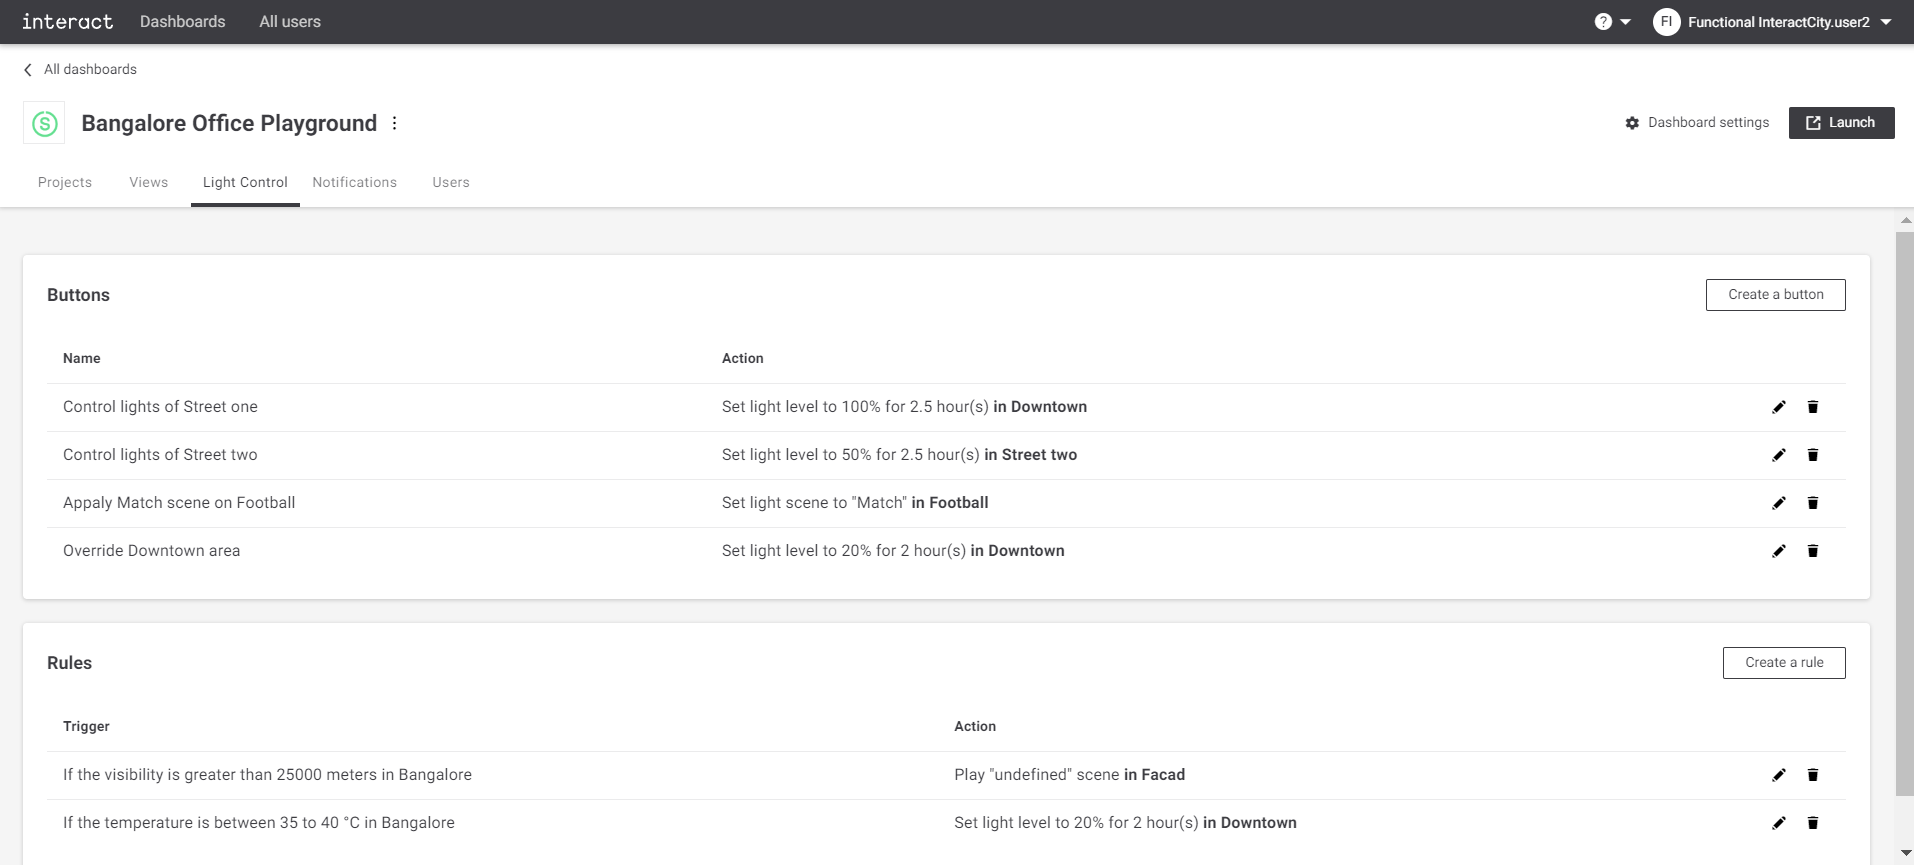 Configure playground Light Control
 -
Click the
 icon next to the button to edit. The button summary dialog appears to edit the name for that button.
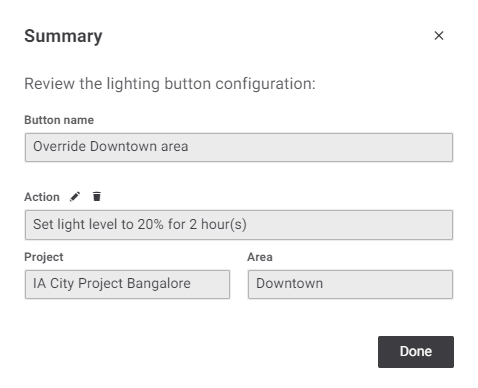 Summary
 -
Click the
icon next to the Action button to edit. The button summary dialog appears to edit the Project, Area, Light level, and Duration for that button.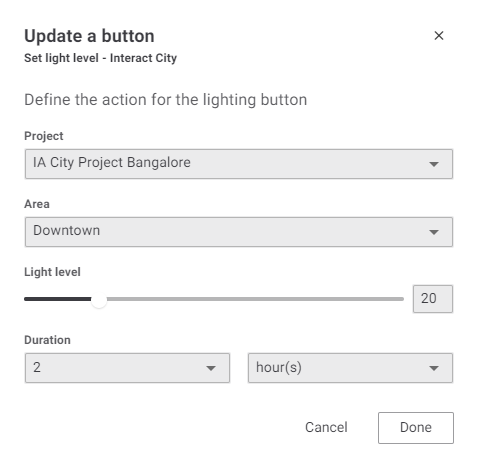 Update a button
-
Project: Select the project name from the drop-down list. The list is populated automatically from the Project view.
-
Area: Select the area from the drop-down list. The area list is populated automatically from the areas configured for the selected project.
-
Light level: Configure the light level for the action. The range is 0% to 100%.
-
Duration: Set duration in hours. After this duration, the light level is reset. This means the next priority light level is applied.
-
-
Click the Done button when the required chances are implemented.
The summary window pops up again. Click the Done button to save the changes. Click the
 button on top-right corner of the dialog to exit without saving at any time.
Summary
button on top-right corner of the dialog to exit without saving at any time.
SummaryThe modified information appears on the Button section of the Light Control page.