Create notifications
To create a notification for a project, follow these steps:
-
Log in to Custom Dashboard and click the
 button on the appropriate project.
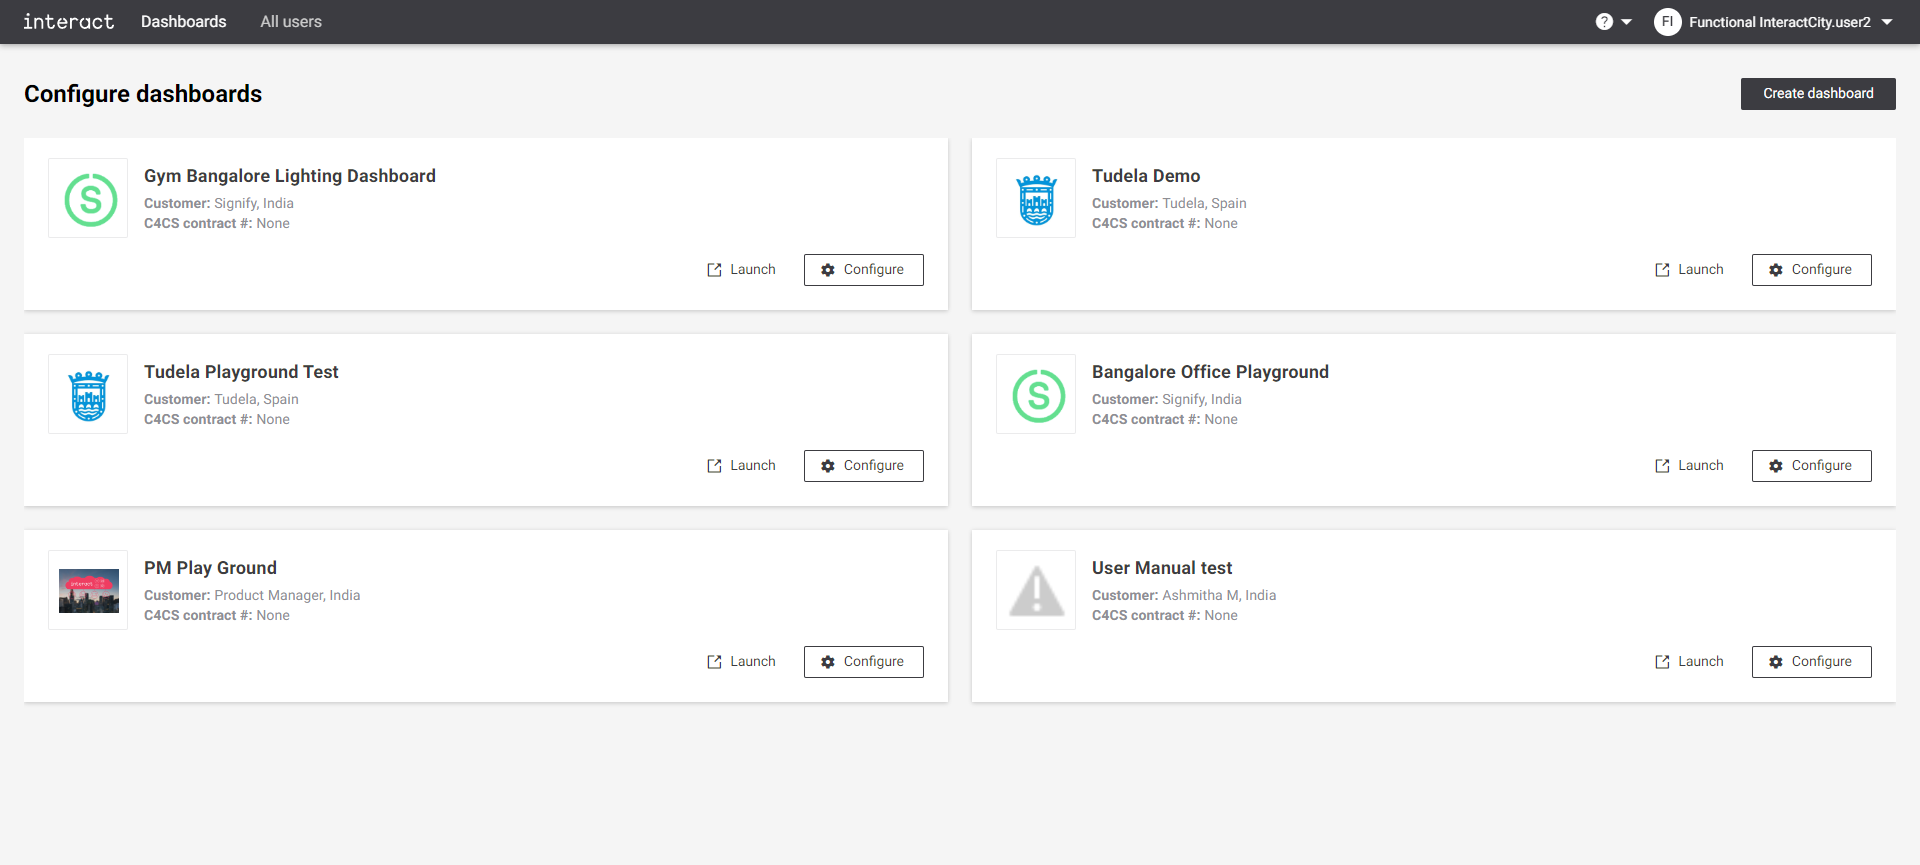 Configure dashboards
 -
Click the Notifications tab. It shows an overview of configured notifications for the dashboard.
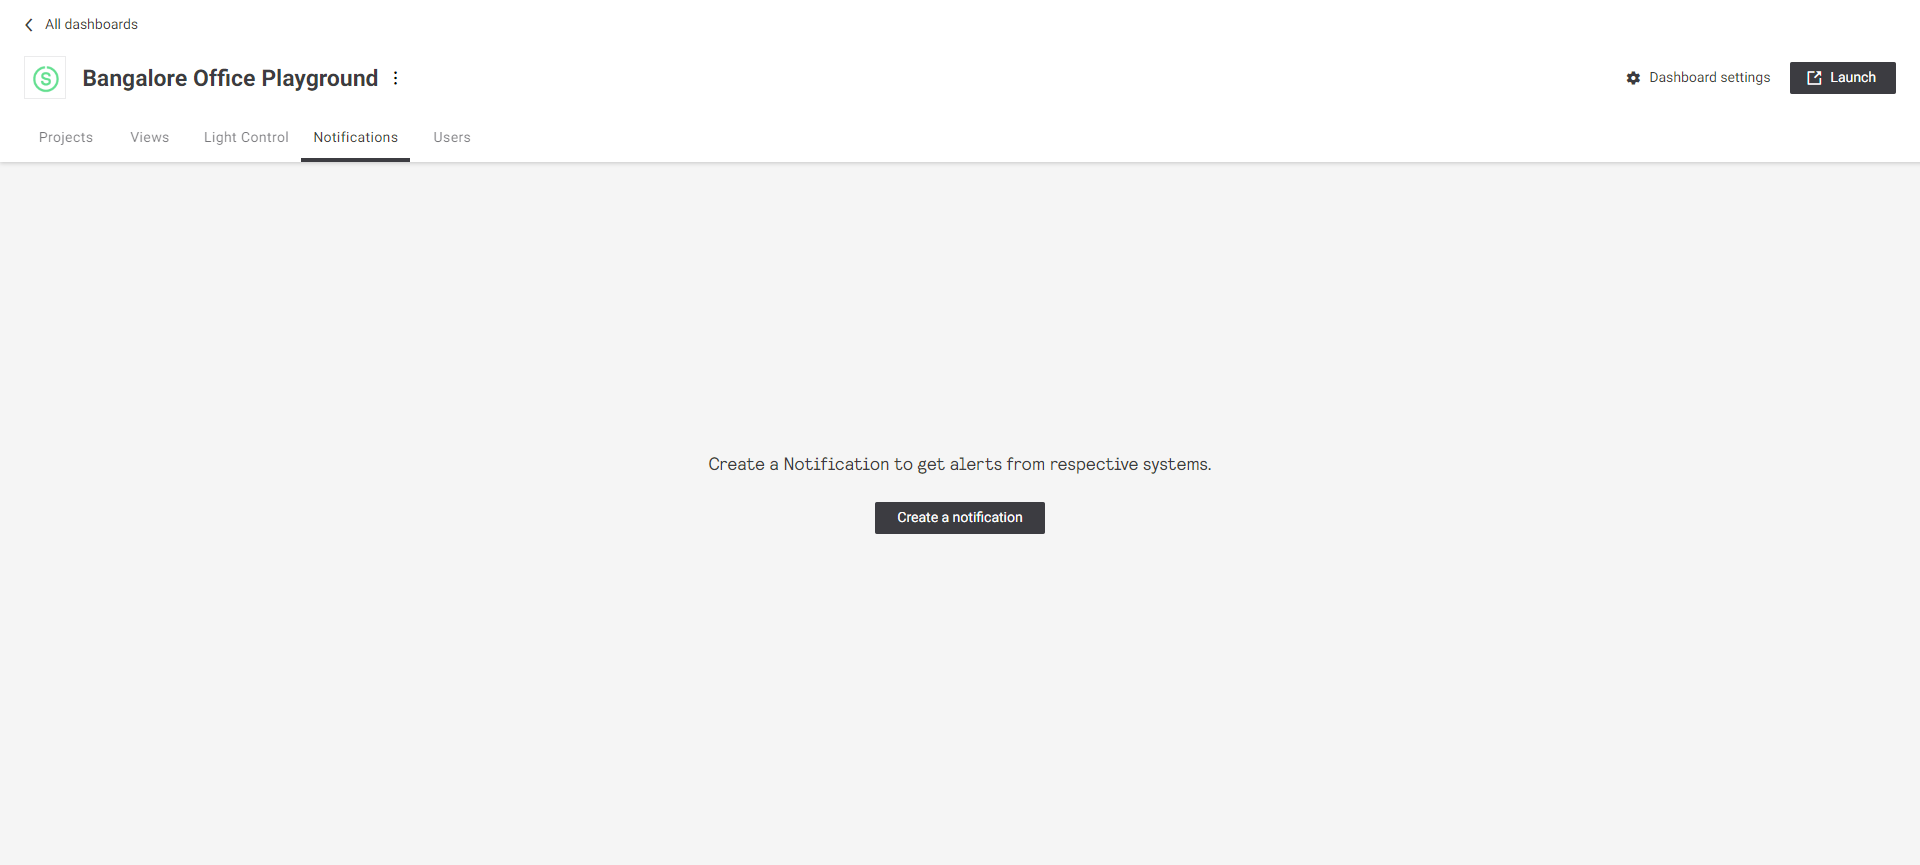 Configure playground Notifications
 -
Click the Create a notification button to create a new notification. A dialog appears with a list of systems to select from.
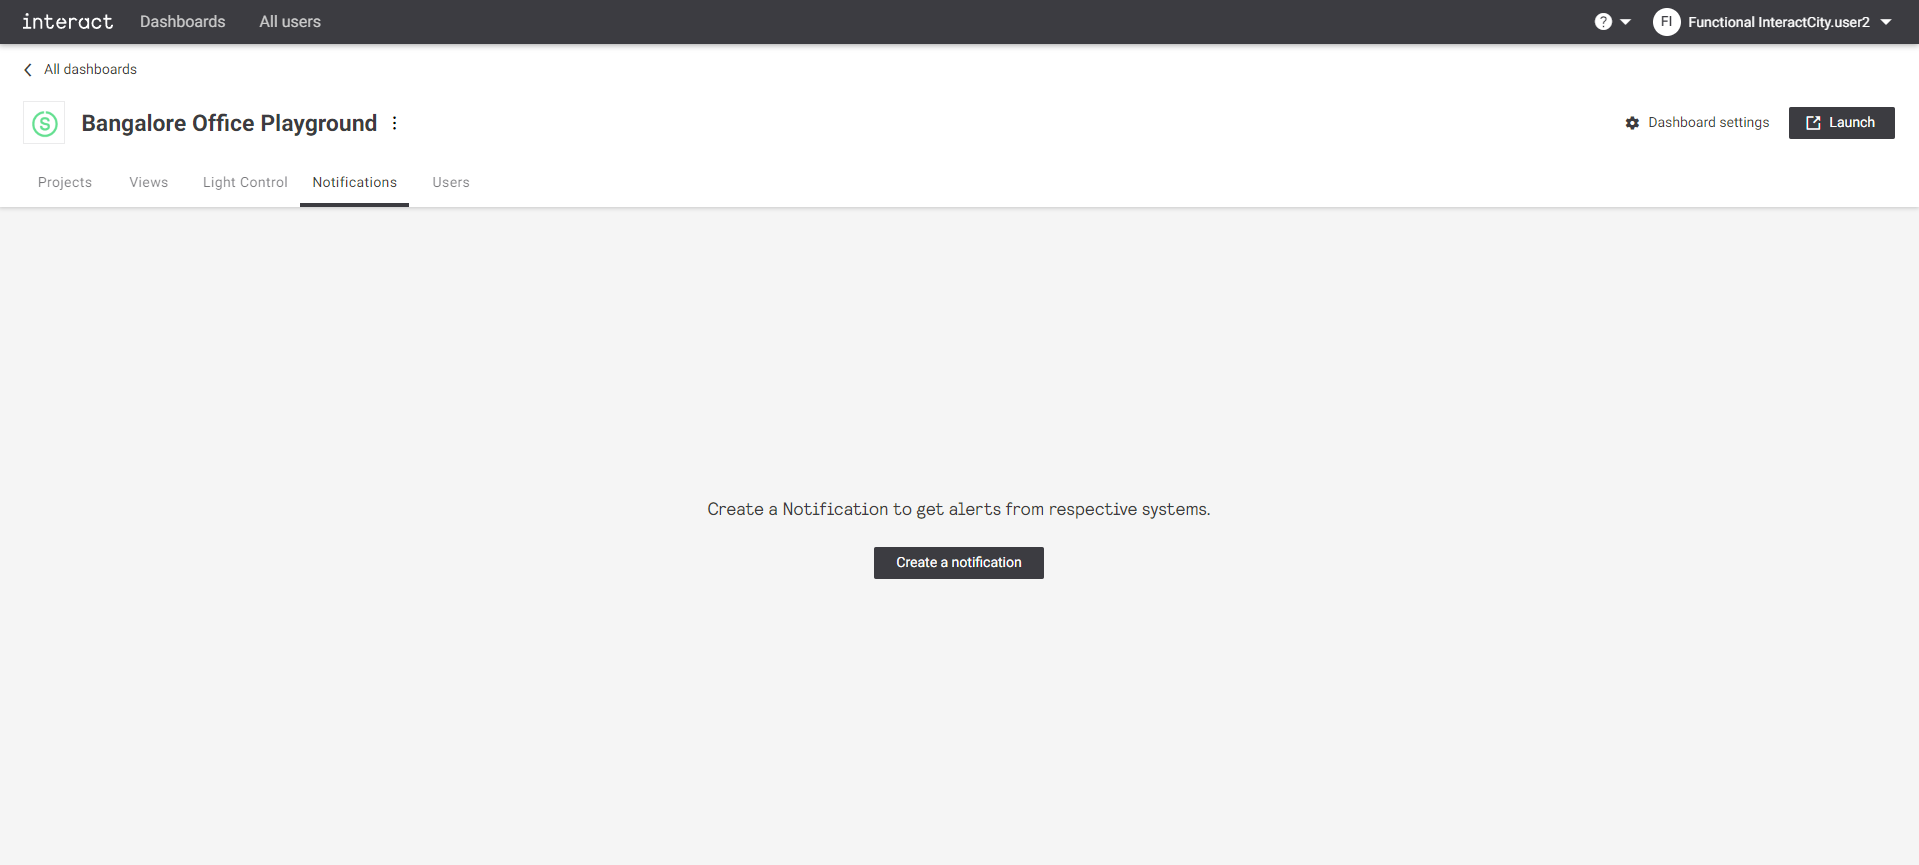 Create a notification
 -
Depending on the selected system, a dialog pops up to create a notification. Define the trigger for the notification.
The trigger is system specific.
For Energy - Interact City, provide the details.
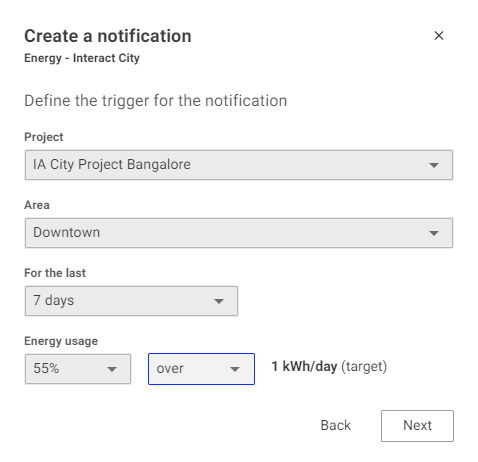 Create a notification - Energy - Interact City
-
Project: Select the project name from the drop-down list. The list is populated automatically from the Project view.
-
Area: Select the area from the drop-down list. The area list is populated automatically from the areas configured for the selected project.
-
For the last: Select from predefined list of days available. The Custom Dashboard supports 1 day, 7 days, 14 days, 21 days and 28 days.
-
Energy usage: Select energy usage percentage. It allows users to select predefined list of percentage, ranging from 5% to 100% in steps of 5%. Also select over or under.
-
-
For Fault - Interact City, provide the following details:
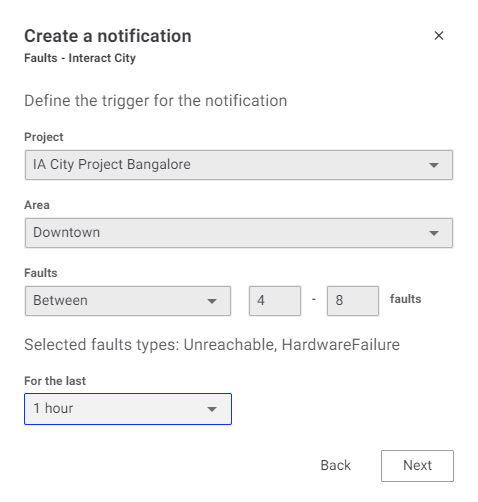 Create a notification - Faults - Interact City
-
Project: Select the project name from the drop-down list. The list is populated automatically from the Project view.
-
Area: Select the area from the drop-down list. The area list is populated automatically from the areas configured for the selected project.
-
Faults: Select from predefined values from Greater than, Lesser than and Between. Provide the number of faults to trigger the notification.
-
For the last: Select from predefined list of days available. The Custom Dashboard supports 1 hour, 1 day, 7 days, 14 days, 21 days and 28 days.
-
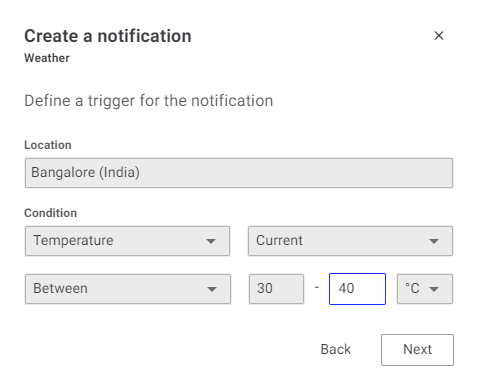
For Weather, provide the following details:
-
Location: Search for city name. Custom Dashboard makes use of weather information for the selected city.
-
Condition: Select the condition from the drop-down list of supported conditions.
-
Rain
-
Snow
-
Visibility
-
Temperature
-
Rain volume
-
Snow volume
-
-
Condition state: Select the condition state from the drop-down list.
-
Current
-
Forecasted (24 hours)
-
-
Based on the condition selection, extra fields are available, and the respective options can be selected from the drop-down list. For example, when temperature is selected, the option to configure value is available.
-
Greater than
-
Less than
-
Between
Based on the selected option, the required values can be provided. For the Greater than and Less than option, only one value must be provided, whereas for the Between option two values are needed.
-
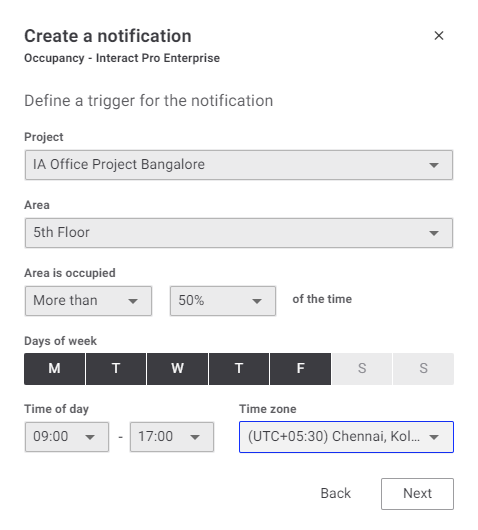
For Occupancy - Interact Pro Enterprise, provide the following details:
-
Project: Select the project name from the drop-down list. The list is populated automatically from the Project view.
-
Area: Select the area from the drop-down list. The area list is populated automatically from the areas configured for the selected project.
-
Area is occupied: Select from predefined values from More than, or Less than and provide the occupancy in a percentage to trigger the notification.
-
Days of week: Select days of week for the occupancy check.
-
Time of day: Select time of day for the occupancy check.
-
Time zone: Select the applicable time zone.
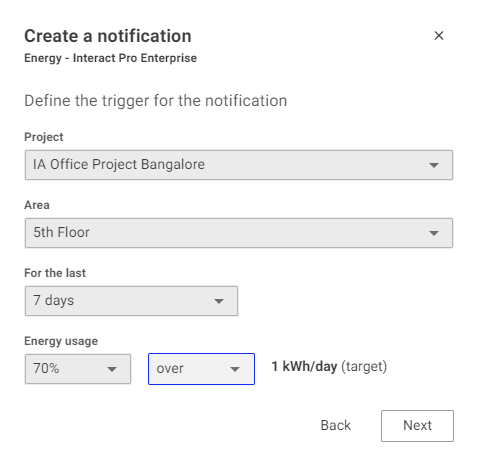
For Energy - Interact Pro Enterprise, provide the following details:
-
Project: Select the project name from the drop-down list. The list is populated automatically from the Project view.
-
Area: Select the area from the drop-down list. The area list is populated automatically from the areas configured for the selected project.
-
For the last: Select from predefined list of days available. Custom Dashboard supports 1 day, 7 days, 14 days, 21 days and 28 days.
-
Energy usage: Select energy usage percentage. A predefined list of percentagecan be selected, in a range from 5% to 100% in steps of 5%. As well the setting over or under must be chosen.
-
Click the Next button to add the notification message.
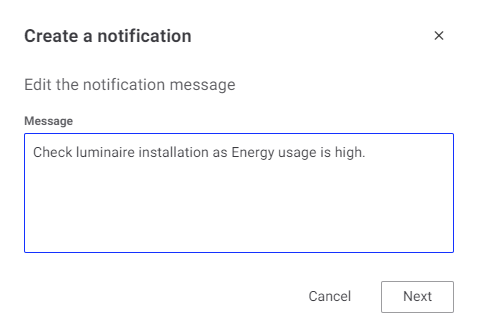 Create a notification - Edit the notification message
 -
Click the Next button to add the recipients email address.
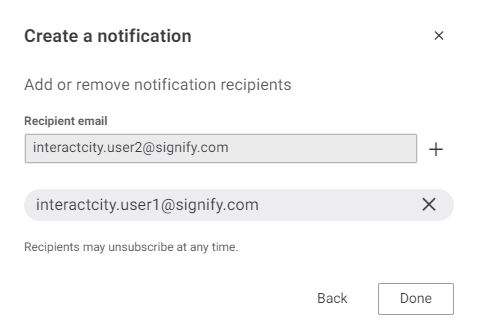 Create a notification - Add or remove notification recipients
Optional multiple email addresses can be added.
-
Click the Done button to save, the Notifications overview is updated with the created notification. Click Back to go back to the previous window. Click the
 button on top-right corner of the dialog to exit without saving at any time.
-
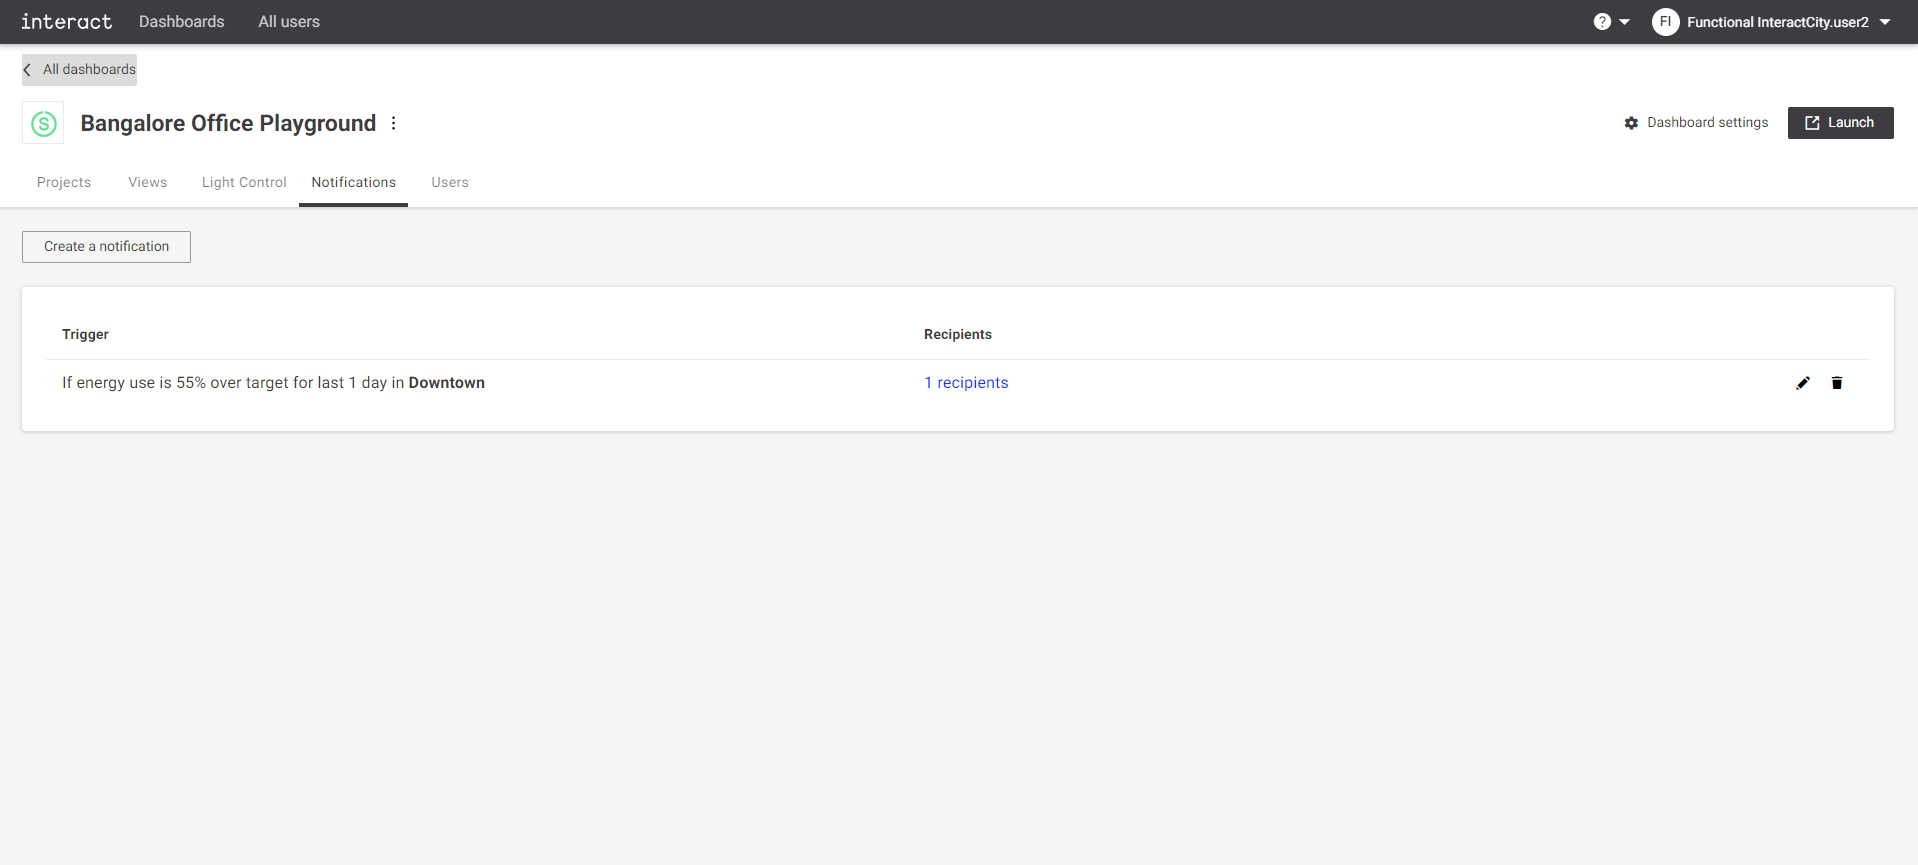
The modified information appears on the Trigger section of the Notifications tab.