Add an area
To add an area to a project, follow these steps:
-
Log in to Custom Dashboard and click the
 button on the appropriate project.
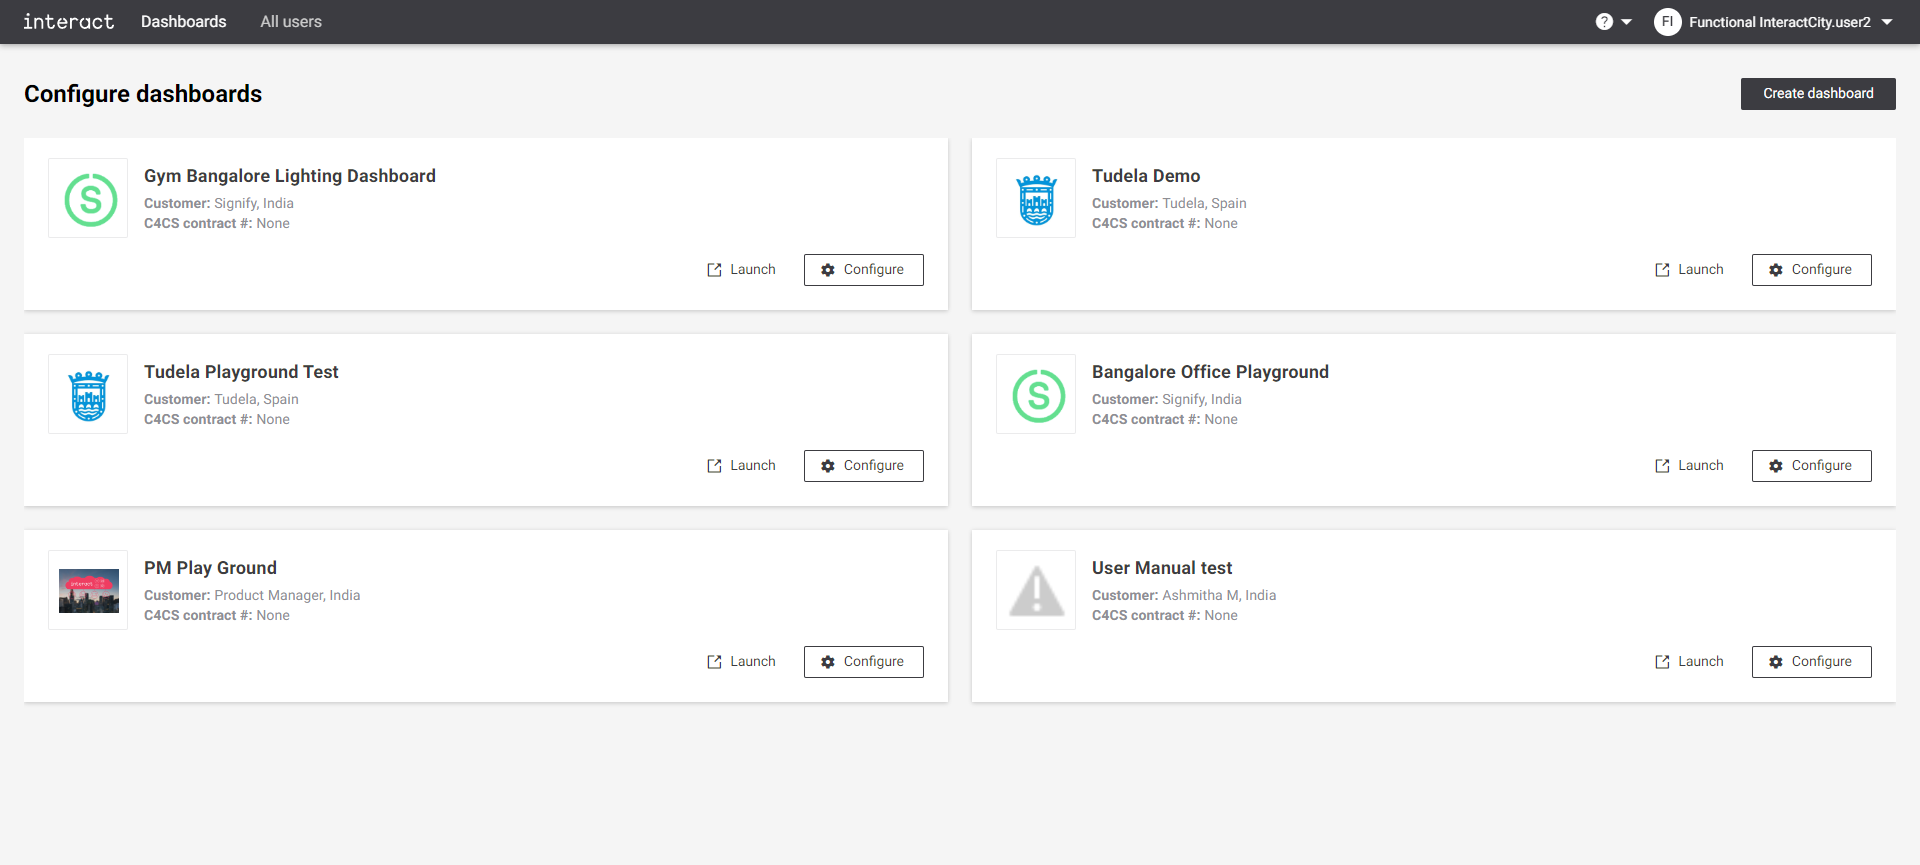 Configure dashboards
 -
Click the Projects tab. It shows the list of existing projects configured for the dashboard.
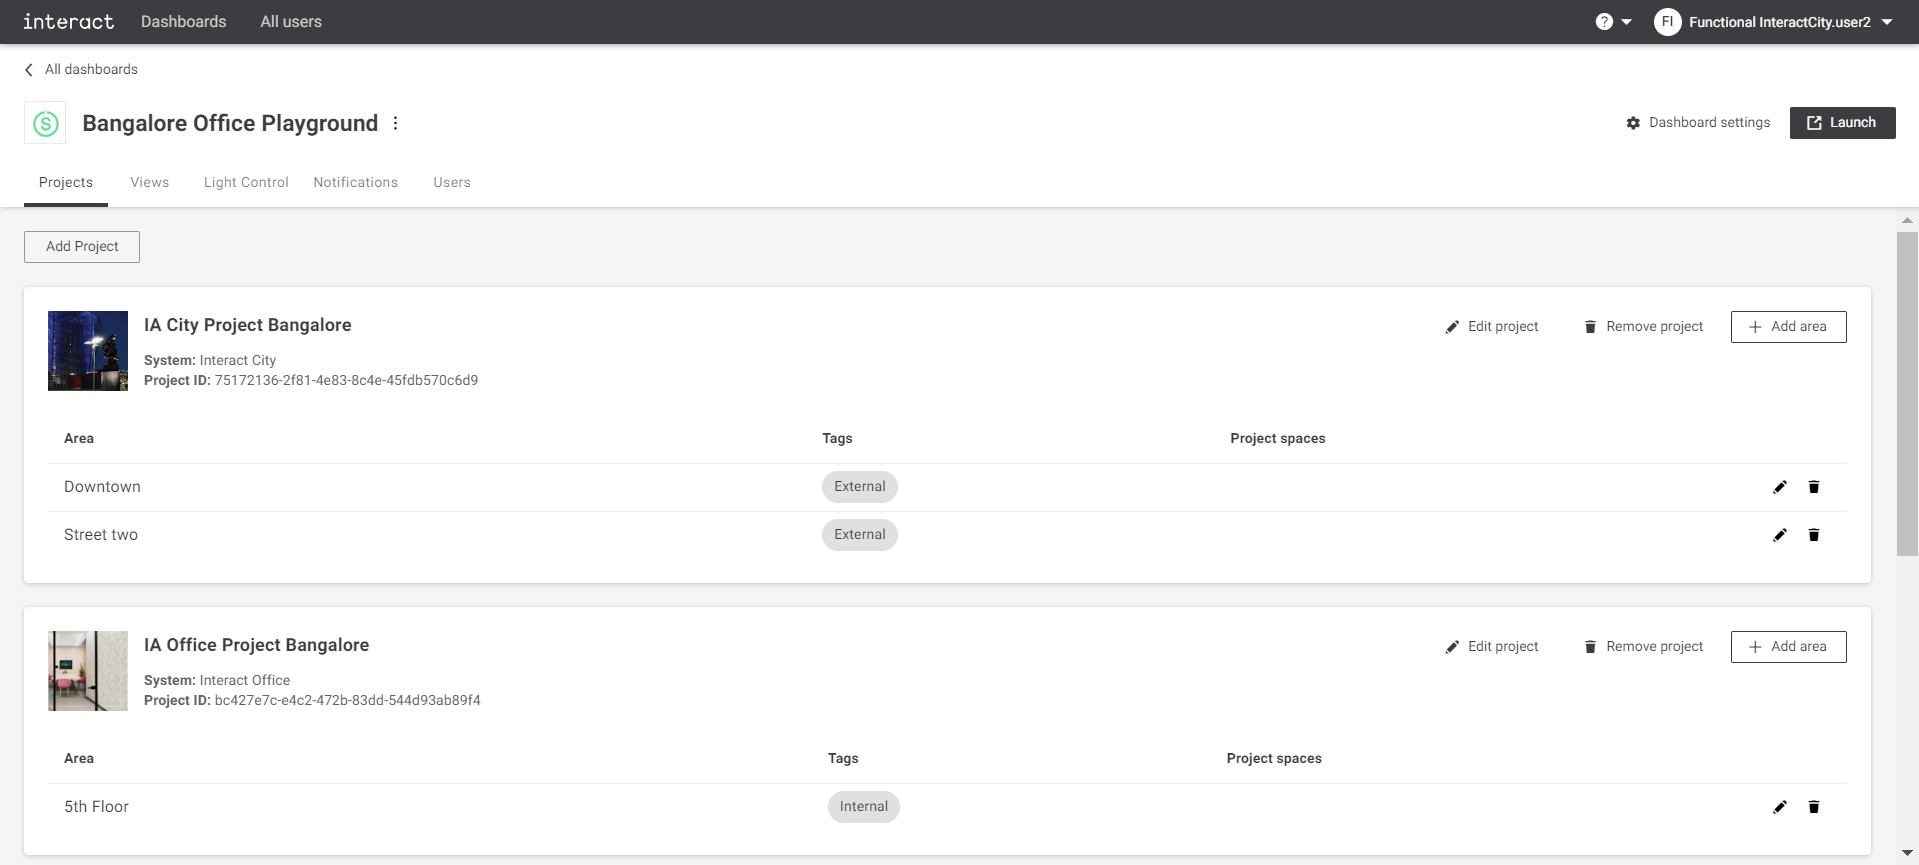 Configure playground Projects
 -
Click the ➕ Add Area button to add an area to the project. A dialog appears, and areas are populated automatically based on the project (Interact application).
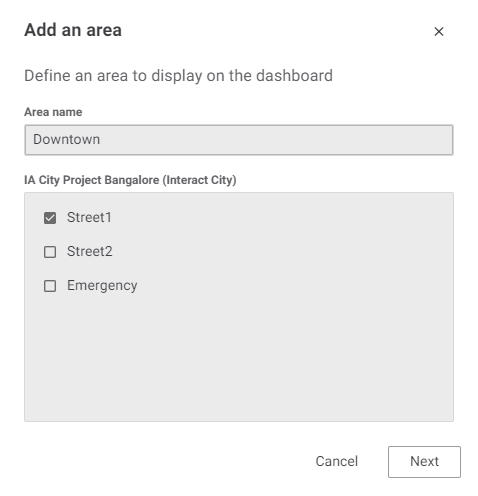 Define an area to display on the dashboard
 -
Provide the Area name and select areas. Multiple areas can be selected. Click Next to configure further parameters for an area.
-
Select the dashboard views where this area needs to appear. The supported dashboard views are.
-
Energy usage
-
Faults
-
Light control
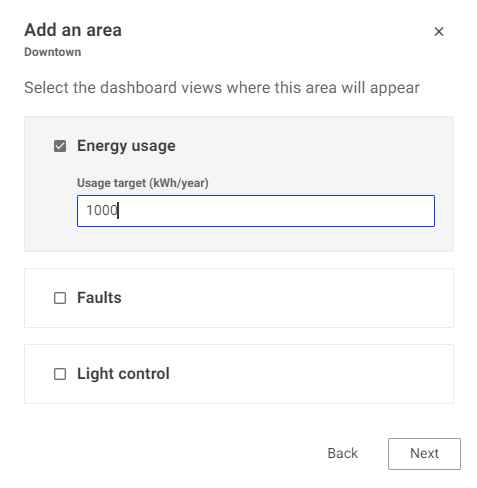 Select the dashboard views where this area appears
One or more dashboard viewscan be selected. For the Energy usage, the user must also provide a target value in kWh/year. This value is used to track actual usage against the given target value.
-
-
Click the Next button to go to the final step of adding an area.
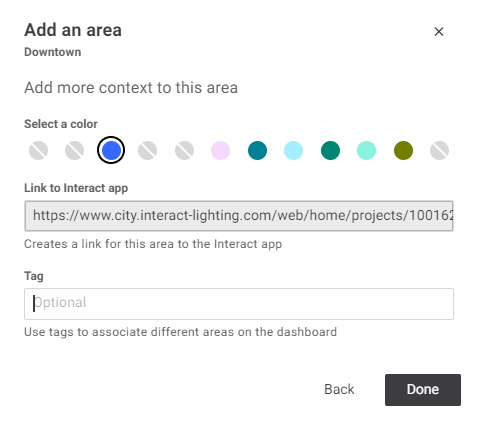 Add an area add more context to this area
The user can provide: Color: The color is used for showing area in energy, fault graphs. Link to Interact app (optional) : Provide the URL of the project. This link is used to launch the application when the user clicks on the
 button in dashboard. It is an optional field.
* *Tag: Remove?
button in dashboard. It is an optional field.
* *Tag: Remove? -
Click Done to add area, area details appear under the project overview. Click the Back to review the previous configuration. Click the
 button on top-right corner of the dialog to cancel adding an area at any time.
|
Custom Dashboard does not restrict the use of same names for area. But it may confuse the customer. It is recommended to use unique names for areas in a dashboard. |