Edit a project
To edit a project, follow these steps:
-
Log in to Custom Dashboard and click the
 button on the appropriate project.
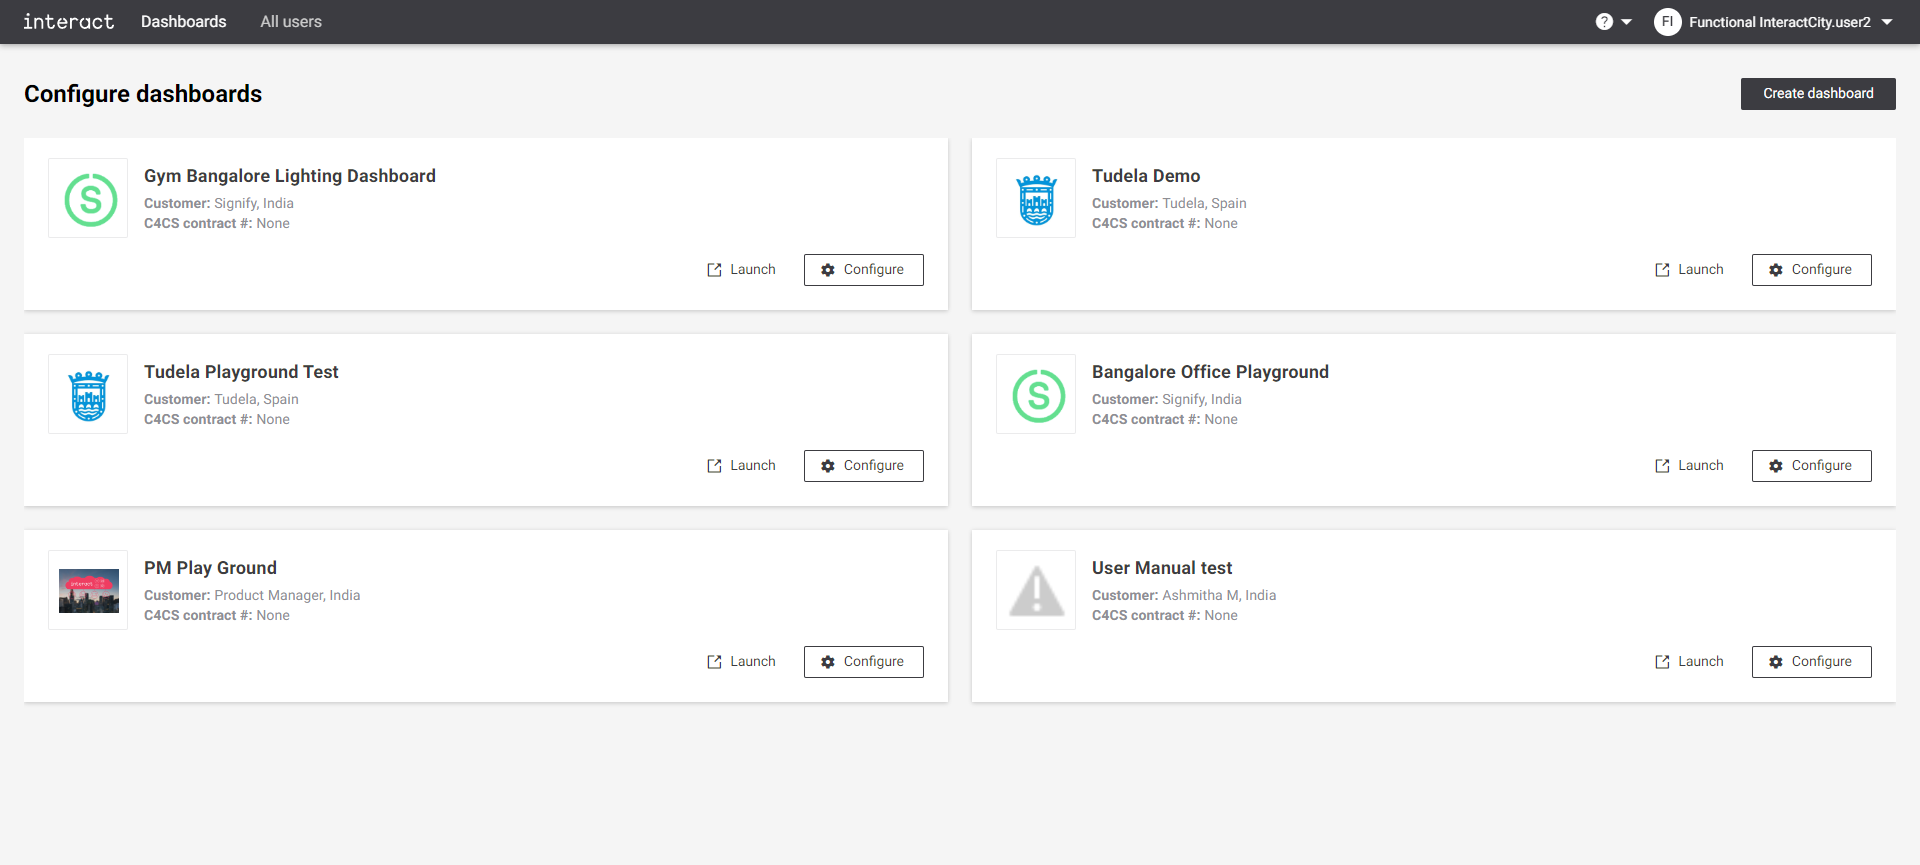 Configure dashboards
 -
Click the Projects tab. It shows the list of existing projects configured for the dashboard.
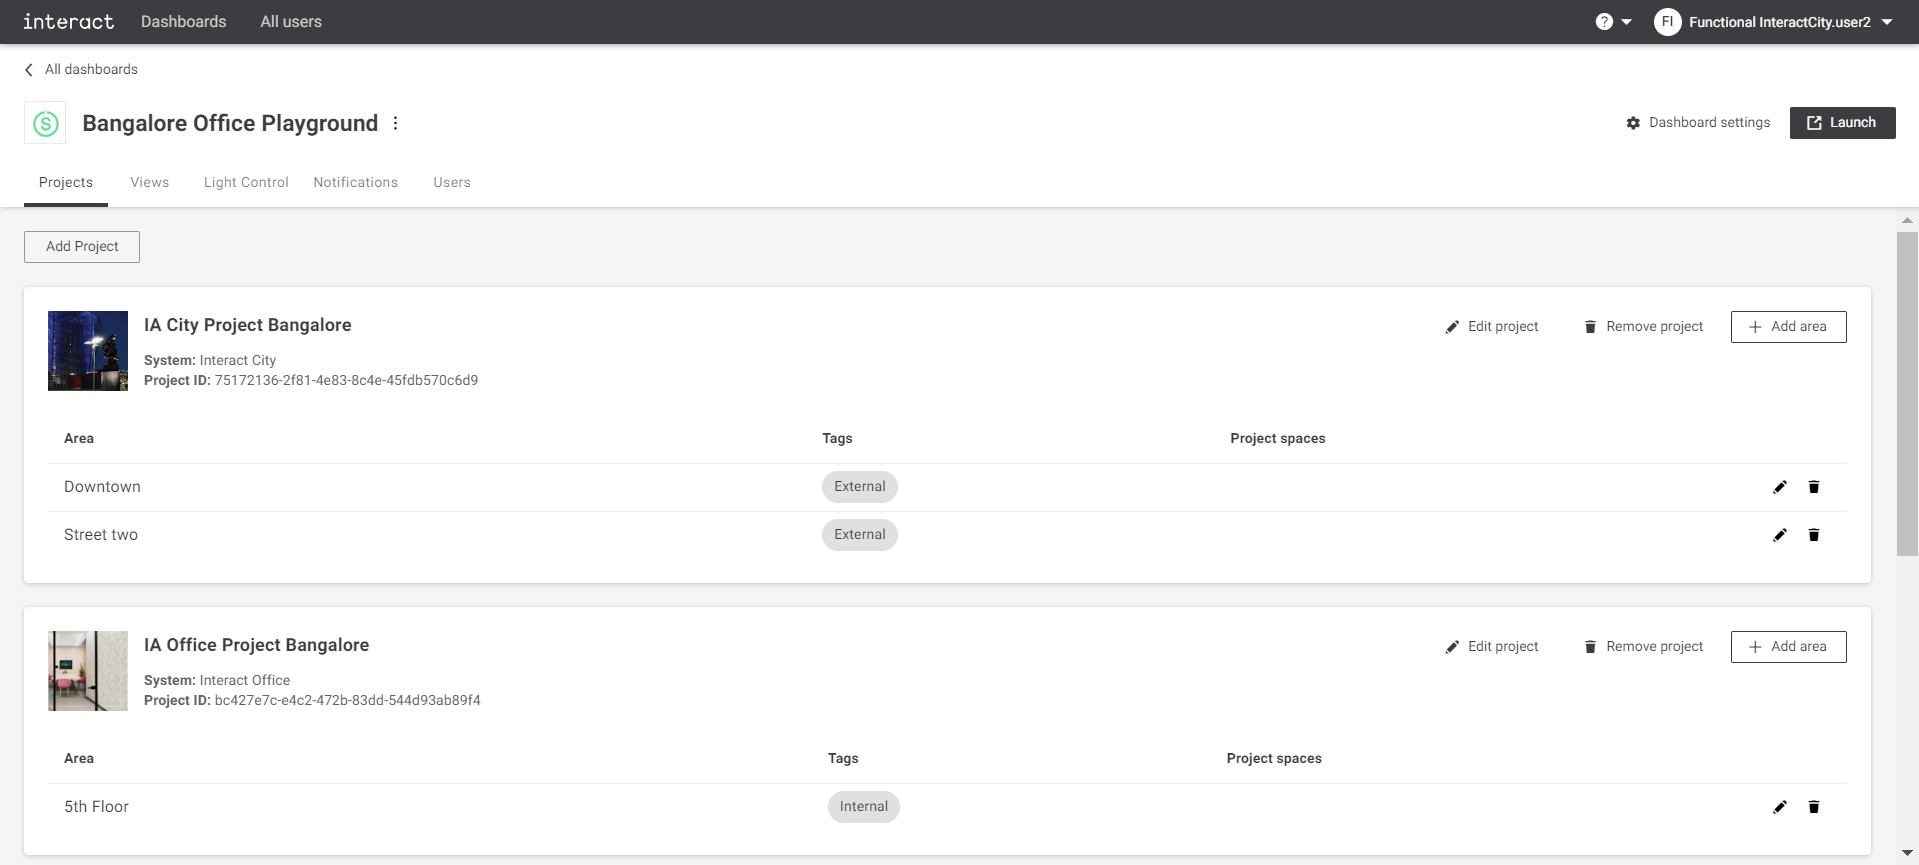 Configure playground Projects
 -
Click the
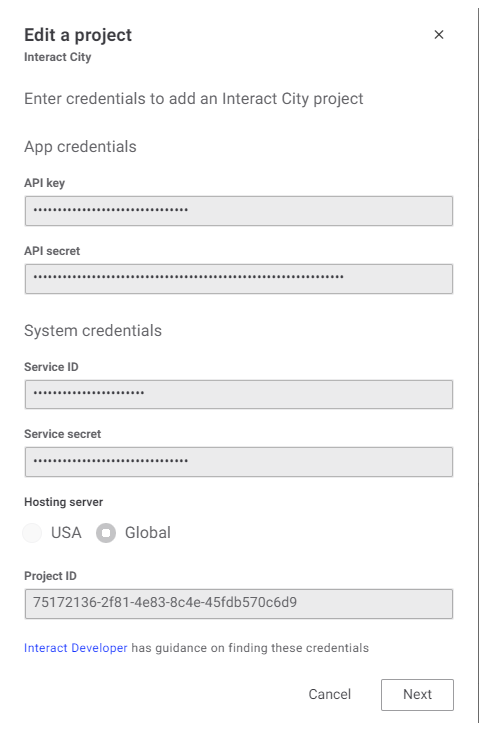
 to edit the project details. A dialog appears to edit project details. Edit project details are Interact application dependent. Note that, the following parameters are not editable.
-
App credentials (API key and secret)
-
System credentials (Service ID and secret)
-
Hosting server (for Interact City application)
-
Project ID
-
Site selection (for Interact Office, Interact Sports [Recreational] and Interact Landmark)
Edit project for Interact City.
-
Edit project for Interact Office and Interact Sports [Recreational]
![Edit a project - Edit an Interact Office and Interact Sports [Recreational] project.](../../_images/4/2/edit-a-project-enter-credentials-pre.png)
Edit project for Interact Landmark.
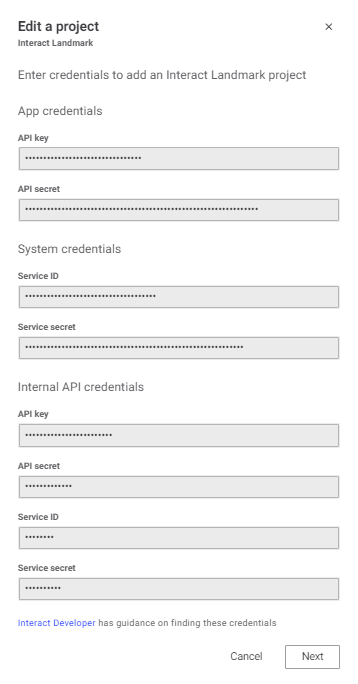
-
Click the Next button to go to the next page.
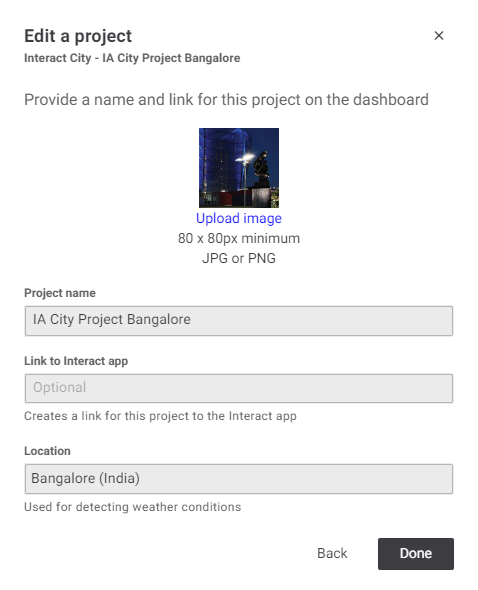 Edit a project - Provide a name and a link for this project on the dashboard.
The edit project details are as follows: Logo image (optional): Add/remove logo for the project. * Acceptable format: JPG and PNG * Minimum resolution: 60 × 60 pixels * Maximum resolution: 80 × 80 pixels Project name: Edit project name. It appears in the list of the projects overview. Link to Interact app (optional): Edit link to the Interact application. * Location: Edit location.
-
Click the Done button to confirm the changes, the Back button to review the changes.