Edit an area
To edit an area in a project, follow these steps:
-
Log in to Custom Dashboard and click the
 button on the appropriate project.
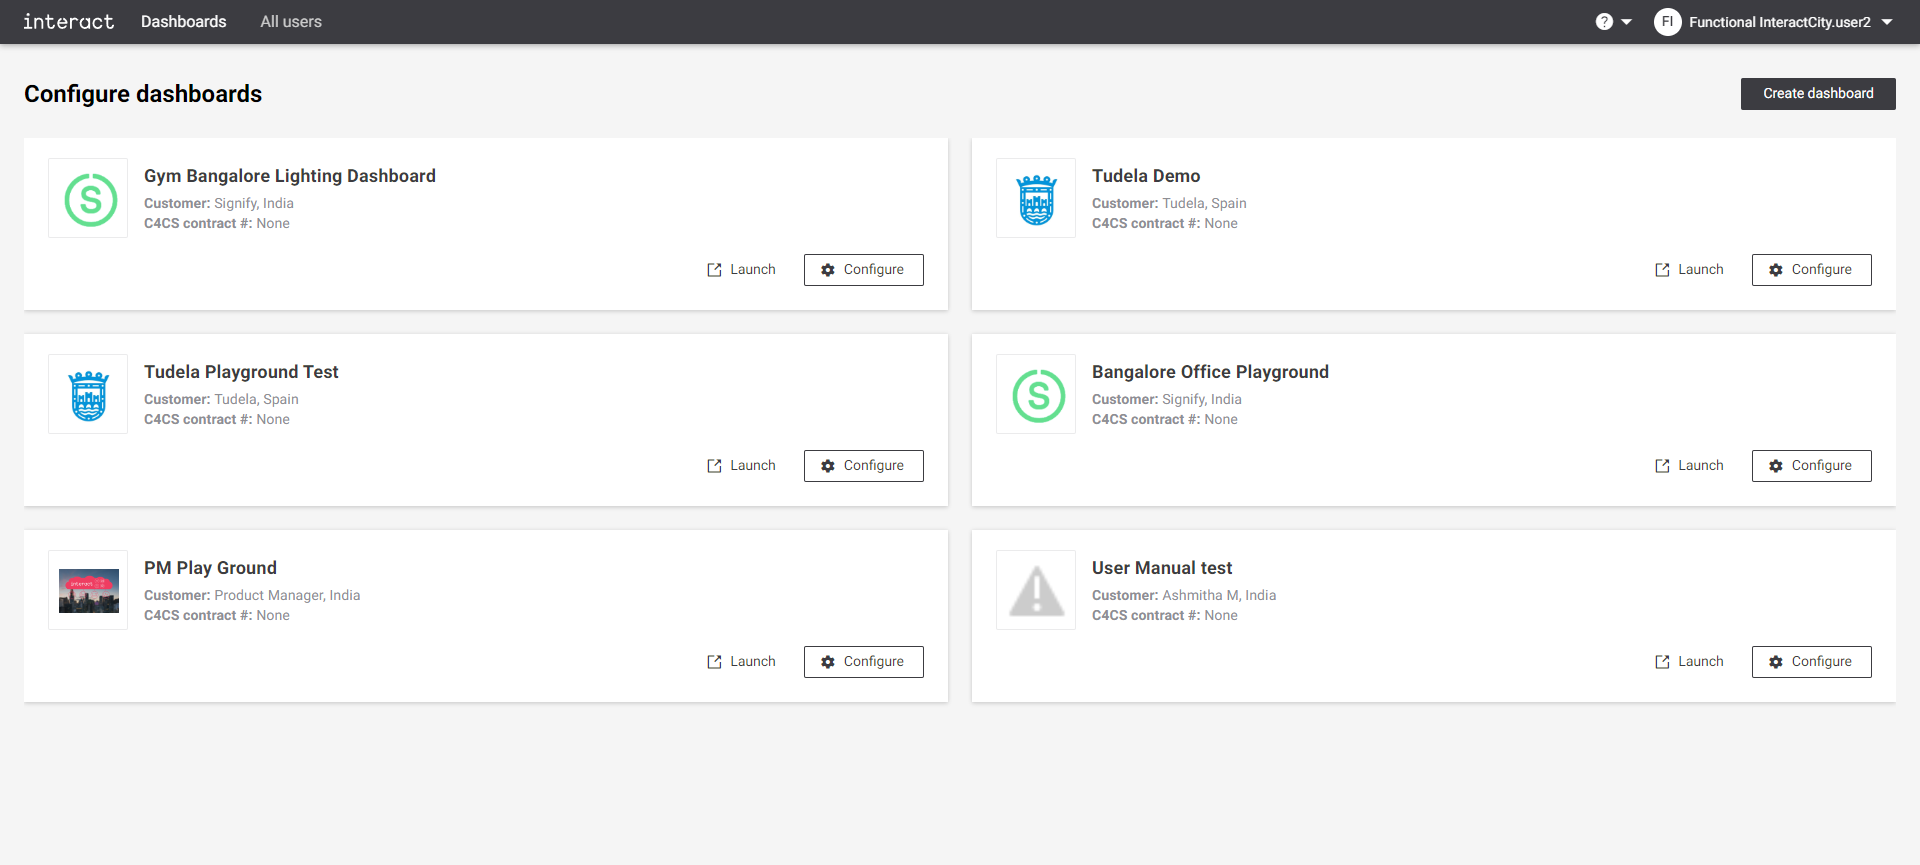 Configure dashboards
 -
Click the Projects tab. It shows the list of existing projects configured for the dashboard.
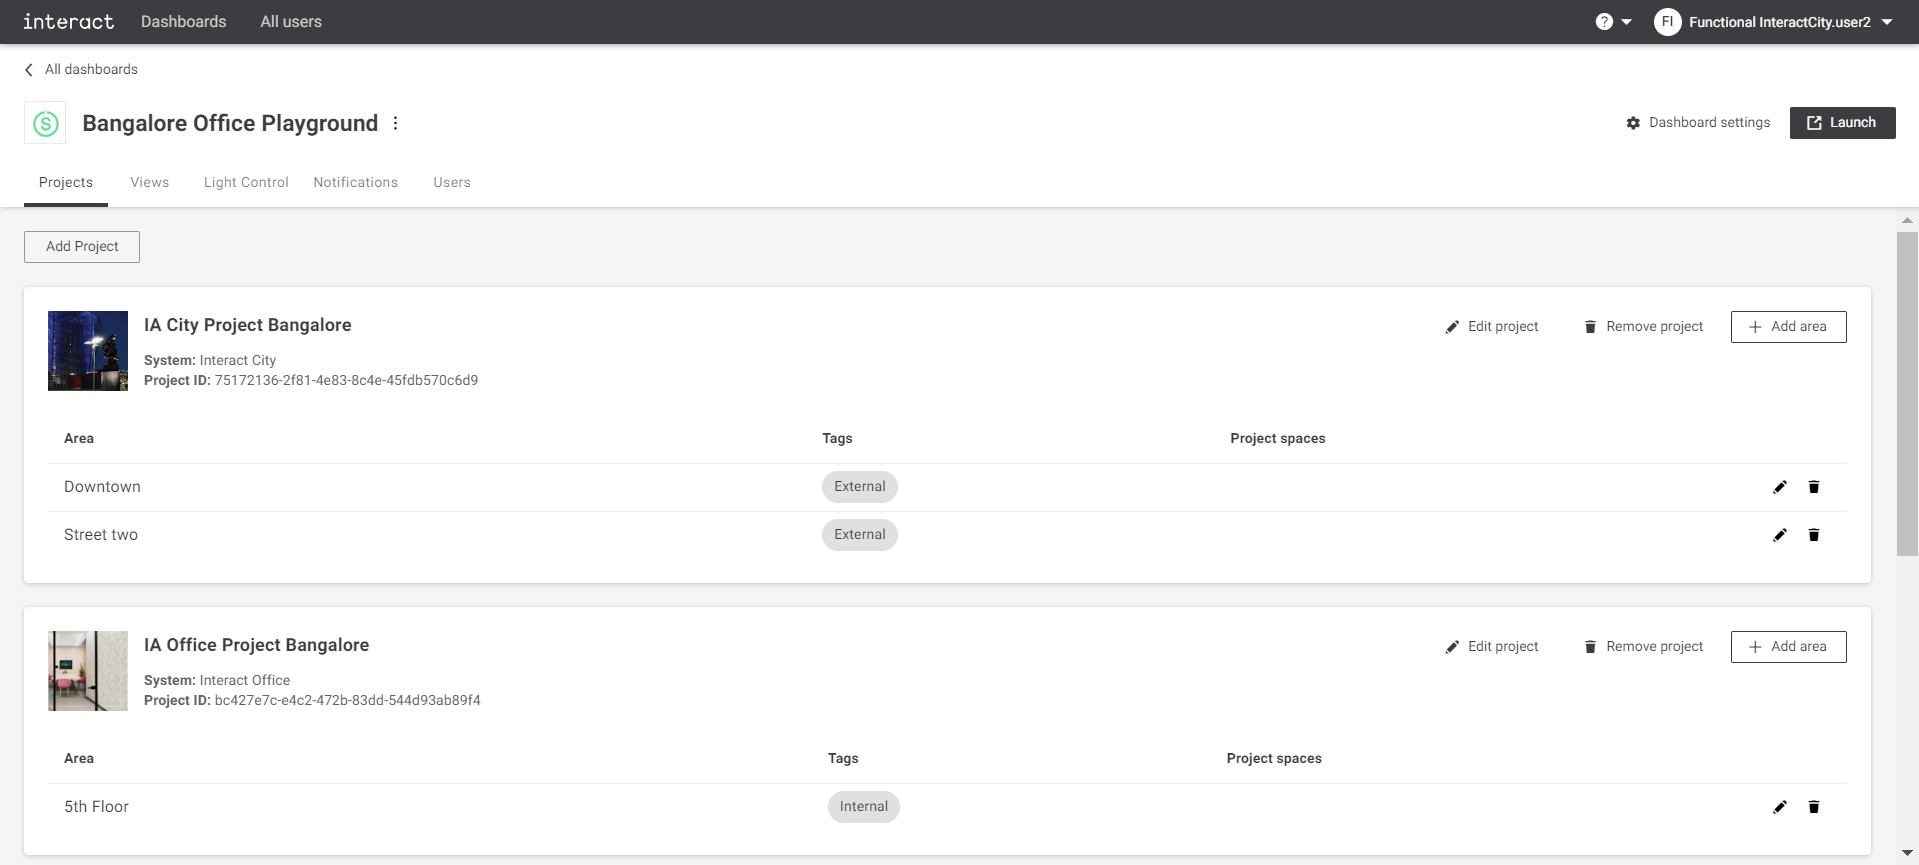 Configure playground Projects
 -
Click the
 icon next to the Area name. A dialog appears to edit area. The user can edit only the name of the area. It is not possible to make changes in the area selection. To modify areas, the user must delete existing areas and add new one.
When an area is deleted, all previous data associated with area that is deleted as well!
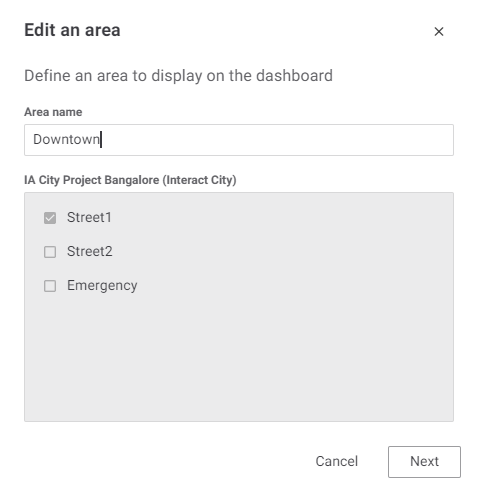 Edit an area define an area to display on the dashboard
 -
Click Next to edit dashboard views. The supported dashboard views are:
-
Energy usage
-
Faults
-
Light control
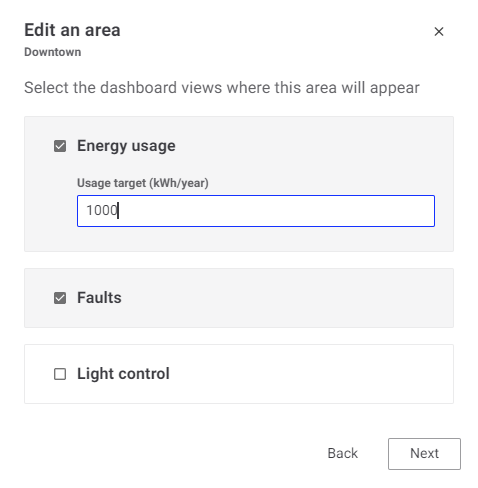 Edit an area select the dashboard views where this area will appear
The user can select one or more dashboard views. For the Energy usage, the user needs to also provide target value in kWh/year. This value is used to track actual usage against the given target value.
-
-
Click Next to edit color, link to Interact app and tag.
 Edit an area add more context to this area
 -
Click the Done button to save the changes. Click the Back to go to the previous configuration pages. Click the
 button on top-right corner of the dialog to exit without saving at any time.