Add a project
Add project is restricted to an Operation user only.
To add a project to a dashboard, follow these steps:
-
Log in to Custom Dashboard and click the
 button on the appropriate project.
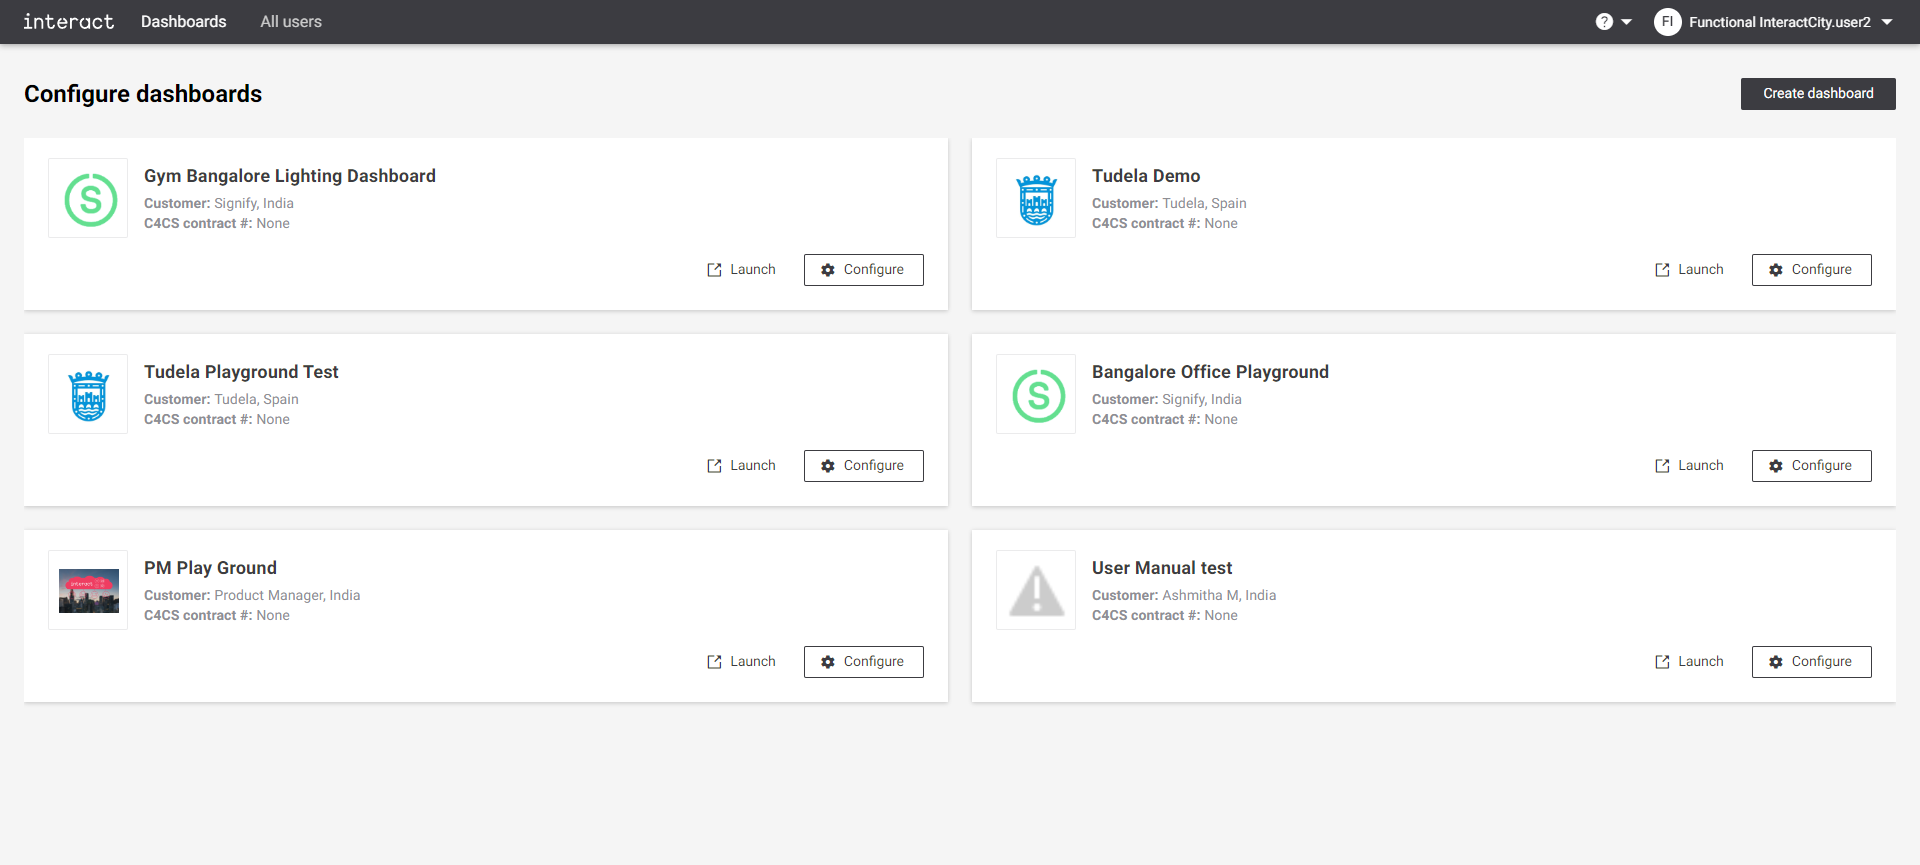 Configure dashboards
 -
Click the Projects tab. It shows the list of existing projects configured for the dashboard.
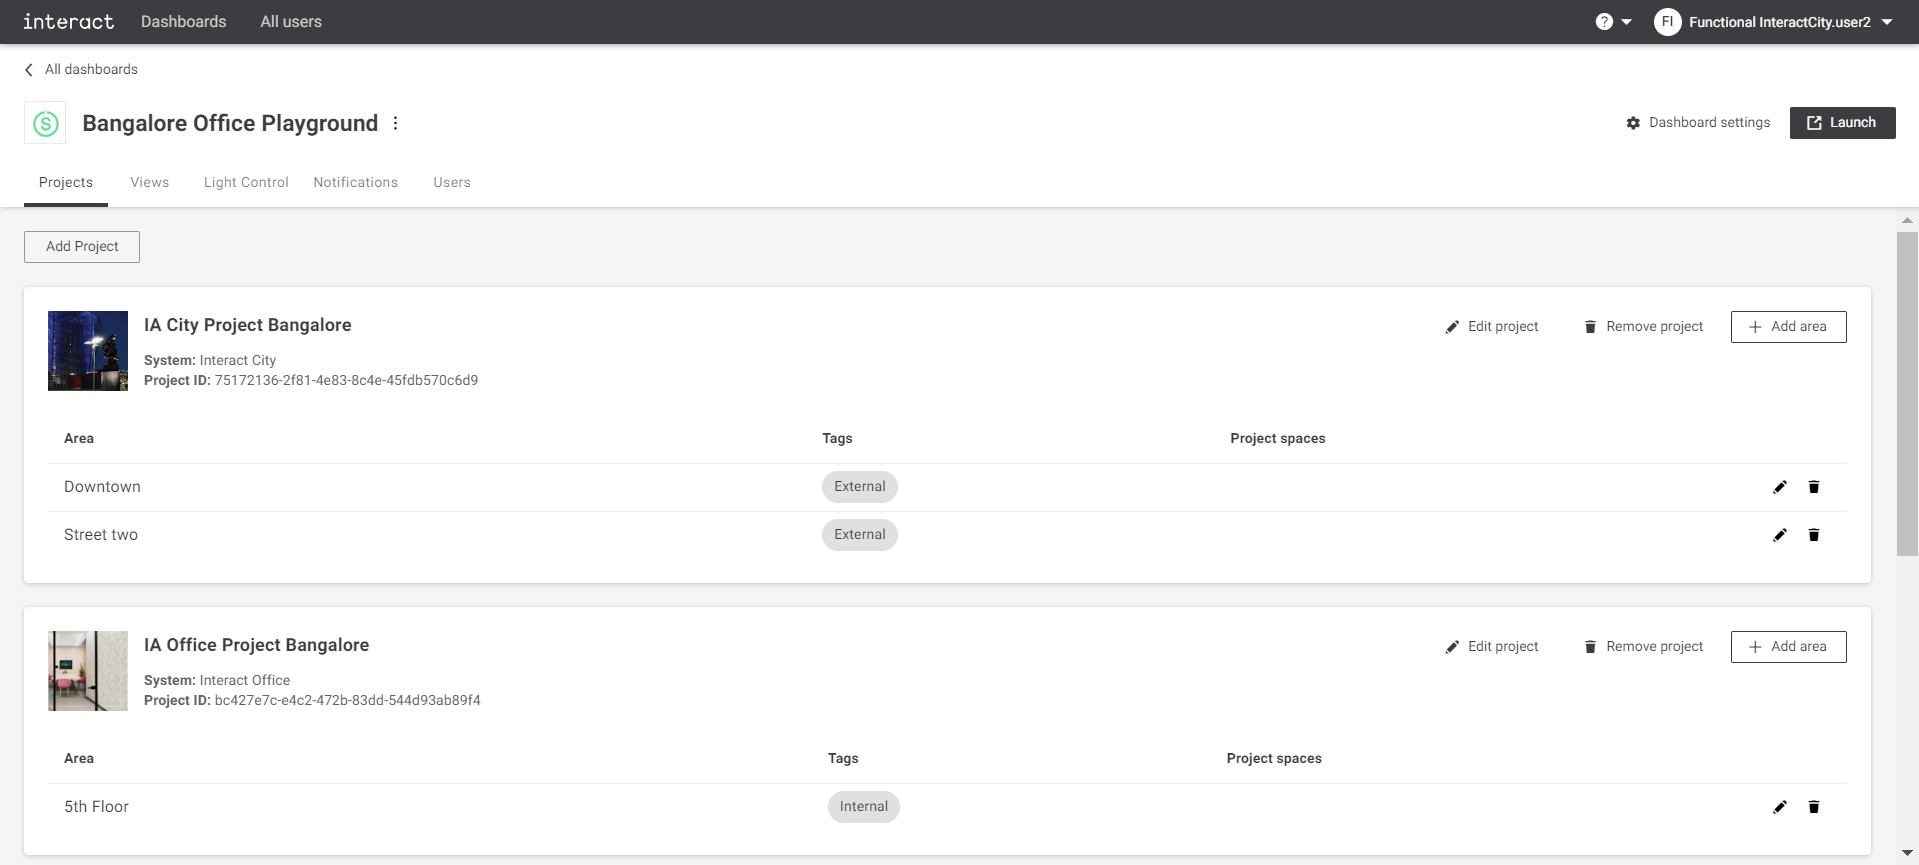 Configure playground Projects
 -
Click the Add Project button to add a new project to the dashboard. A dialog appears to select the system for the project. The supported systems are displayed in the dialog.
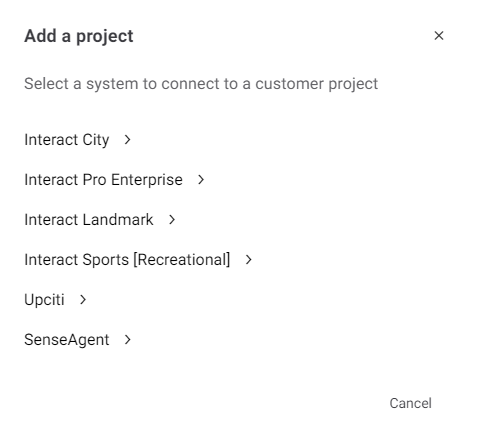 Select a system to connect to a customer project
 -
Select te correct system. A dialog appears to capture project details.
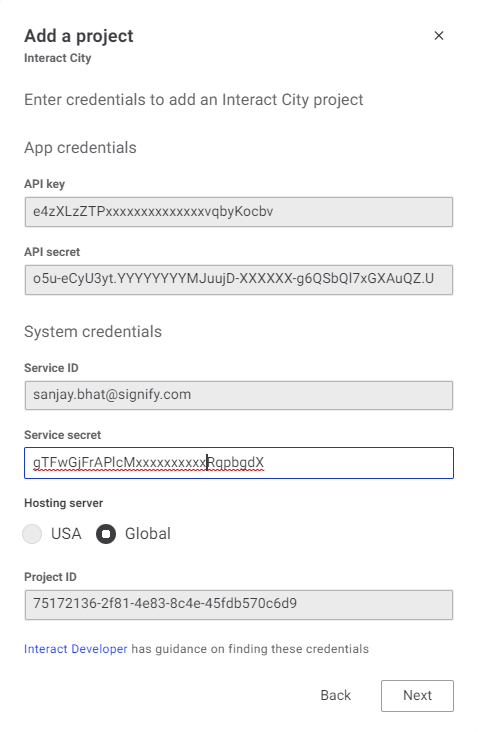 Enter the project credentials
The project details are as follows:
-
API key: API key to access an Interact application API.
-
API secret: API secret to access an Interact application API. API key and secret is generated using the Interact Developers Portal.
-
Service ID: Service ID is the ID generated for client application.
-
Service secret: Service secret is generated for client application. System credentials (Service ID and secret) are generated using IoT IDM admin portal.
-
Hosting server (applicable only for Interact City): Project hosting server.
-
Project ID (applicable only for Interact City): Project unique identifier (UUID). It is generated when a project is created.
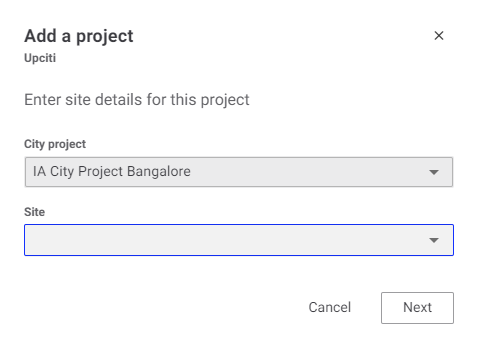
For Upciti project the details are as follows:
-
City project: Select the Interact City project from the drop-down list of projects. Upciti project is associated with Interact City.
-
Site: Select the Site name from drop down list of sites associated with the selected project. This will be populated automatically.
-
-
Click Next to upload project image. A dialog appears to provide further details for the project.
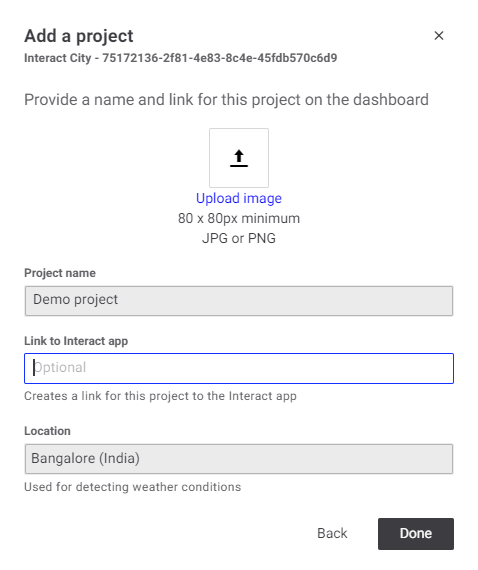 Provide a name and a link for this project on the dashboard
The project details are as follows:
-
Logo image (optional): Upload an image to be used as logo for the project.
-
Acceptable format: JPG and PNG
-
Minimum resolution: 80 × 80 pixels
-
-
Project name: Provide the name for the project. The project name appears in the list of the projects overview.
-
Link to Interact app (optional): Provide URL of the project. This link is used to launch the application when the user clicks on
 button in dashboard. It is an optional field.
 -
Location: Provide the city name where the project is installed. The location information is used for getting weather conditions. The user can search for the name of the city.
-
-
Click Done to add project. A project is created. The project appears in the project overview page.